How to Install SQL Server 2022
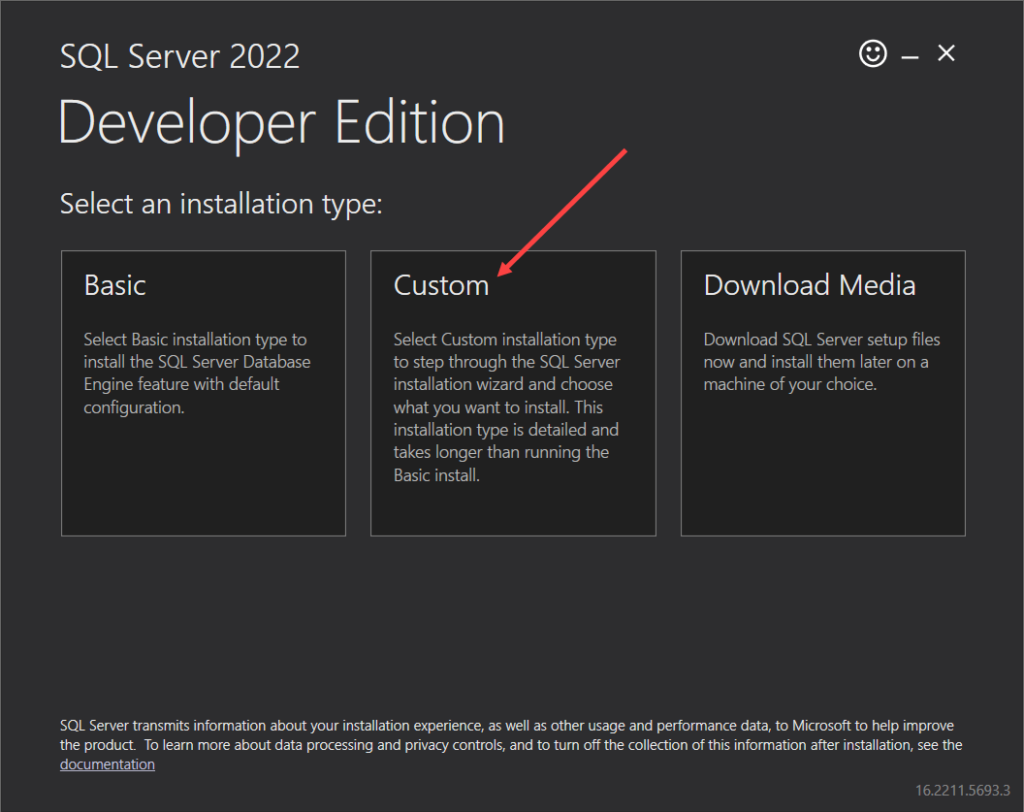
The download link will only download a small 4MB file. Opening this file will present you with 3 options:
- you can do a basic installation. This is a “next-next-finish” installation with some defaults selected. Personally, I like to have a bit more control over what happens.
- For this reason, I choose the custom installation. Here you can choose exactly which bits are installed and how they are configured.
- The last option is to download the installation media. For example, when you want to install SQL Server on a machine that doesn’t have an Internet connection.
Next, you can choose where you want to download the installation media. After the setup, this folder remains available, so you can use those bits if you want to install SQL Server on another machine, or if you want to add (or remove) features later on.
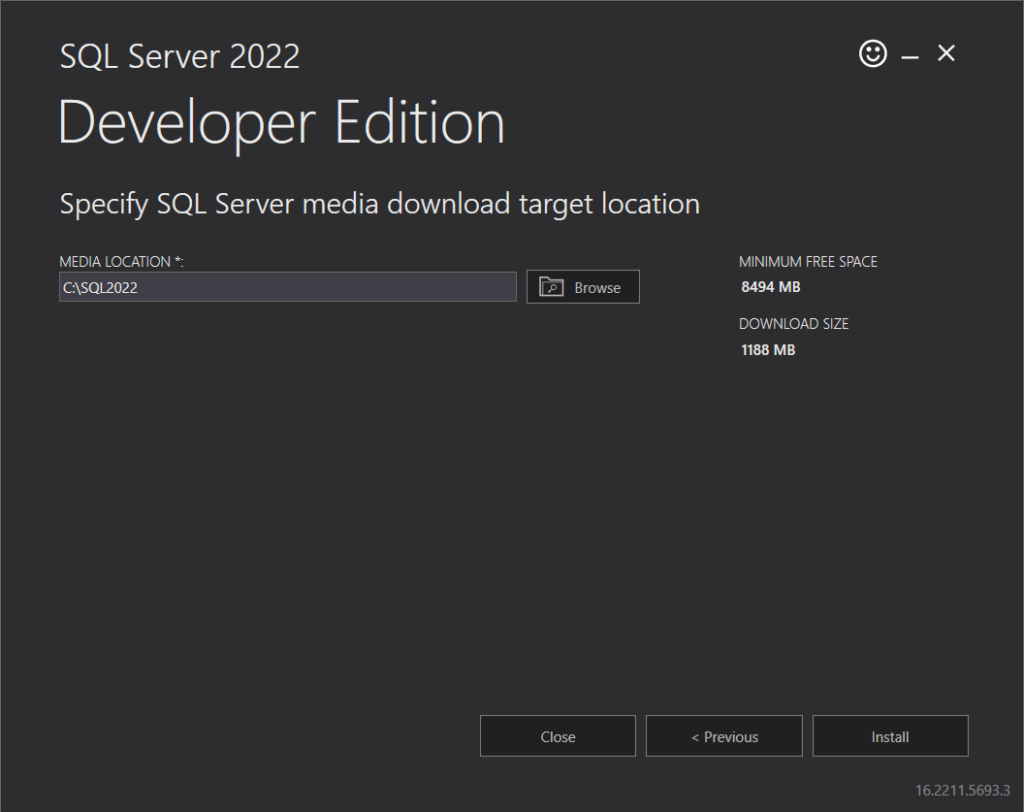
Unlike Visual Studio, SQL Server doesn’t have a streaming set-up. Meaning, the setup files are downloaded first, then setup is launched and then you can start configuring and installing SQL Server. Visual Studio on the other hand, does the configuration first and then downloads the necessary bits. While downloading, the installation already begins.
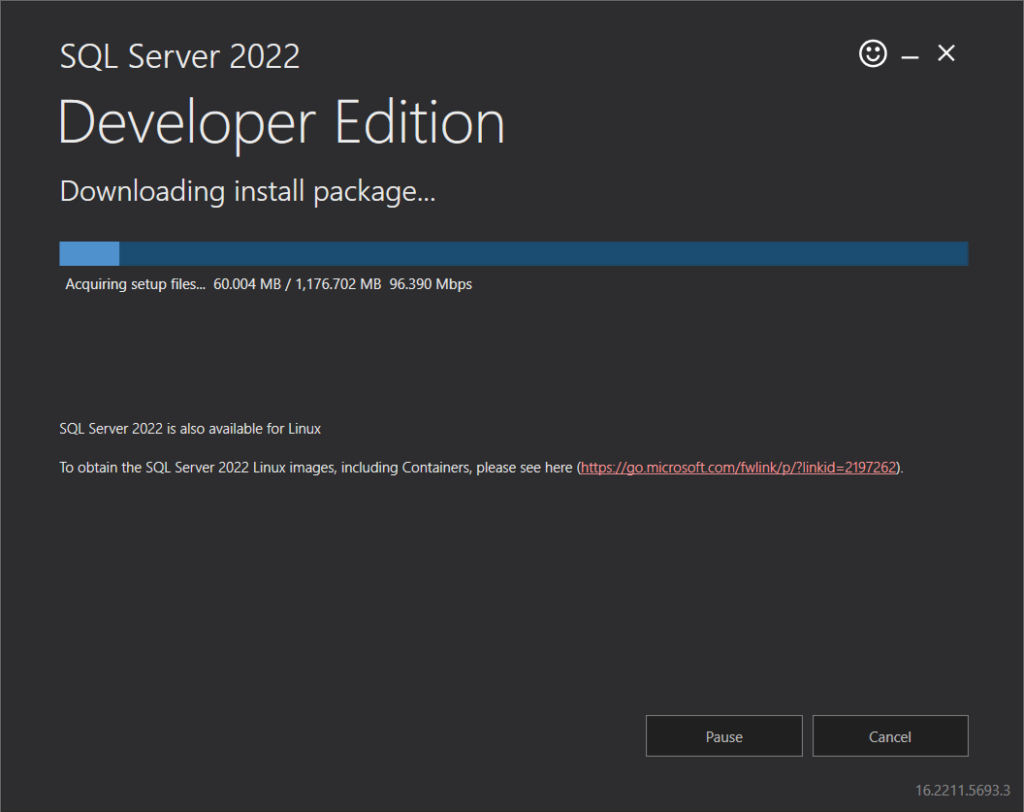
After the download is finished, we are presented with the familiar setup tool:

Go to Installation and then choose to install a new standalone installation. This page also includes download links for SQL Server Data Tools (SSDT) and SQL Server Management Studio (SSMS).

In the first page of the setup, you need to choose your license. Since we’re using developer edition, we can leave it to the default. An interesting new feature is the pay-as-you-go billing through Azure. Basically you can pay for SQL Server for each hour used (price is per core per hour). More information can be found here. As a side note, this can save you a lot of money when you use SQL Server as a data warehouse. Once the data is loaded into Power BI and the ETL stops running, you can shut down SQL Server until the next ETL run, although I’m not 100% sure you can actually get the costs to zero. Possibly you can only lower your number of cores (when using a VM), so contact your sales rep to be sure.

Of course, don’t forget to accept the license terms:

The install rules are being checked and there’s not much difference with previous versions.

A new page is the Azure Extension for SQL Server, which you apparently need for some features. Since I’m going to use this installation of SQL Server as my personal sandbox, I can disable this feature.

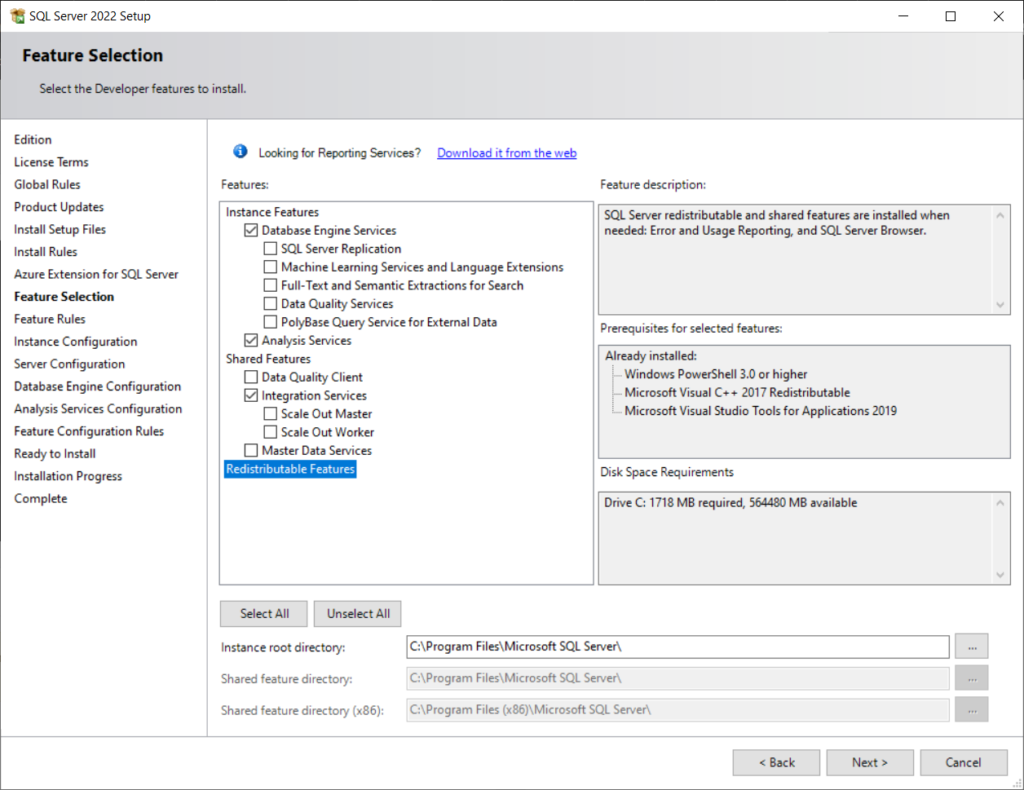
Now we can finally select which features we want to install. Personally, I’m installing the database engine, along with SSIS and SSAS. SSRS has been moved out of the setup since its “joint venture” with Power BI. In contrast with older versions of SQL Server, there’re less features to choose. For example, the client tools, the SDK and distributed replay are gone (this blog post has some screenshots of the full list for SQL Server 2019). Surprised Data Quality Services still makes the list though…
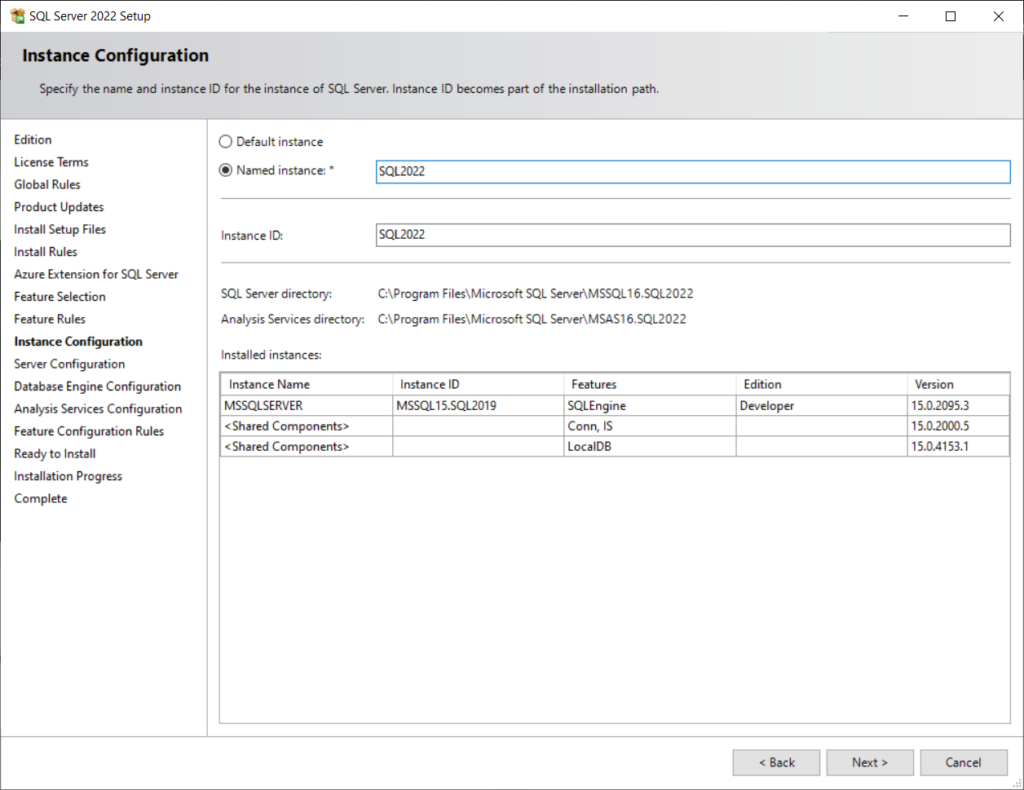
In the next screen, you can choose to either install SQL Server as the default instance, or as a named instance (since I already have an installation of SQL Server on my machine, I can only choose the named instance option).
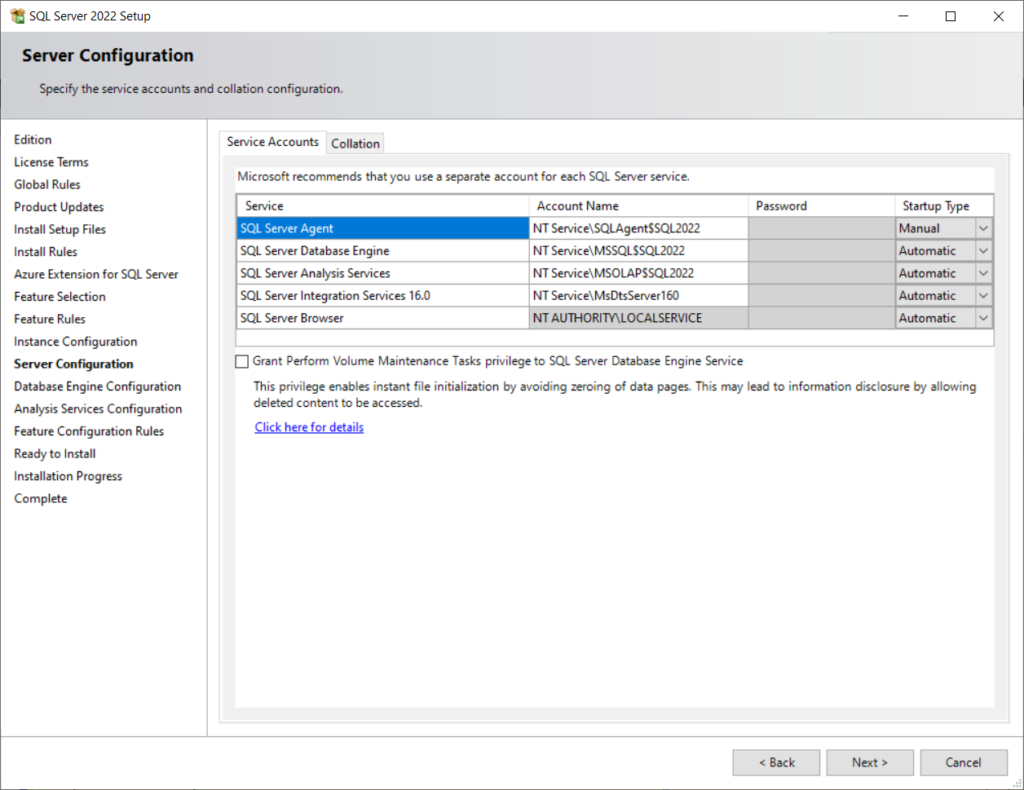
Then you can configure the service account. Typically I leave everything as the default.
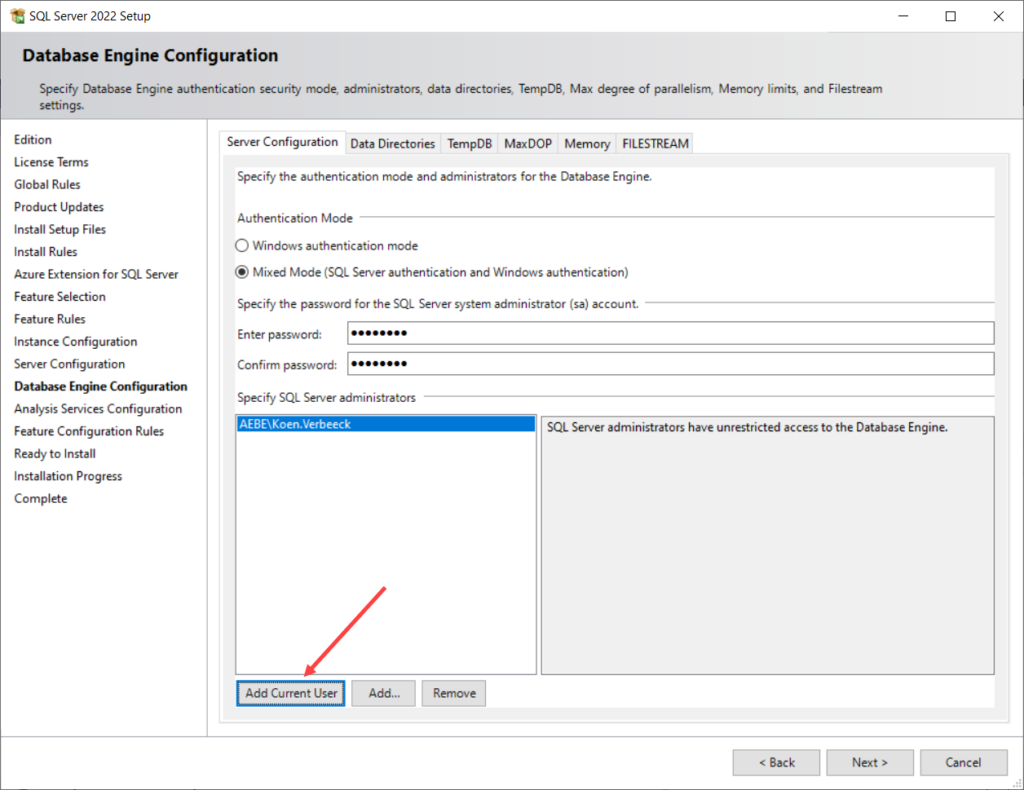
For the database configuration, I don’t think much has changed. I opted for mixed mode for the authentication. You never know when you need some SQL Server authentication. Don’t forget to add yourself as the admin. Since I only have one drive on my machine, I leave everything else as the default. For a real installation of SQL Server, I’d definitely change the data directories so that data (and log files) aren’t stored on the C: drive.
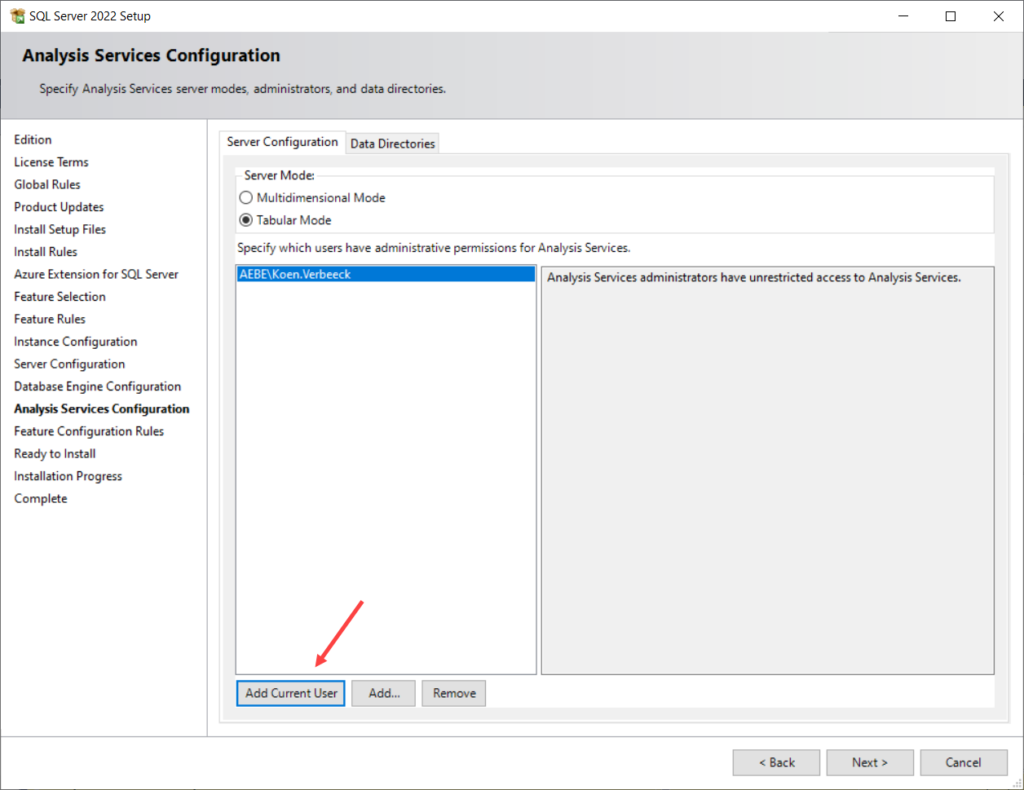
In the config screen of SSAS, I choose for the default Tabular, and add myself as an admin. Again, for real server installations I’d change the data directories as well.
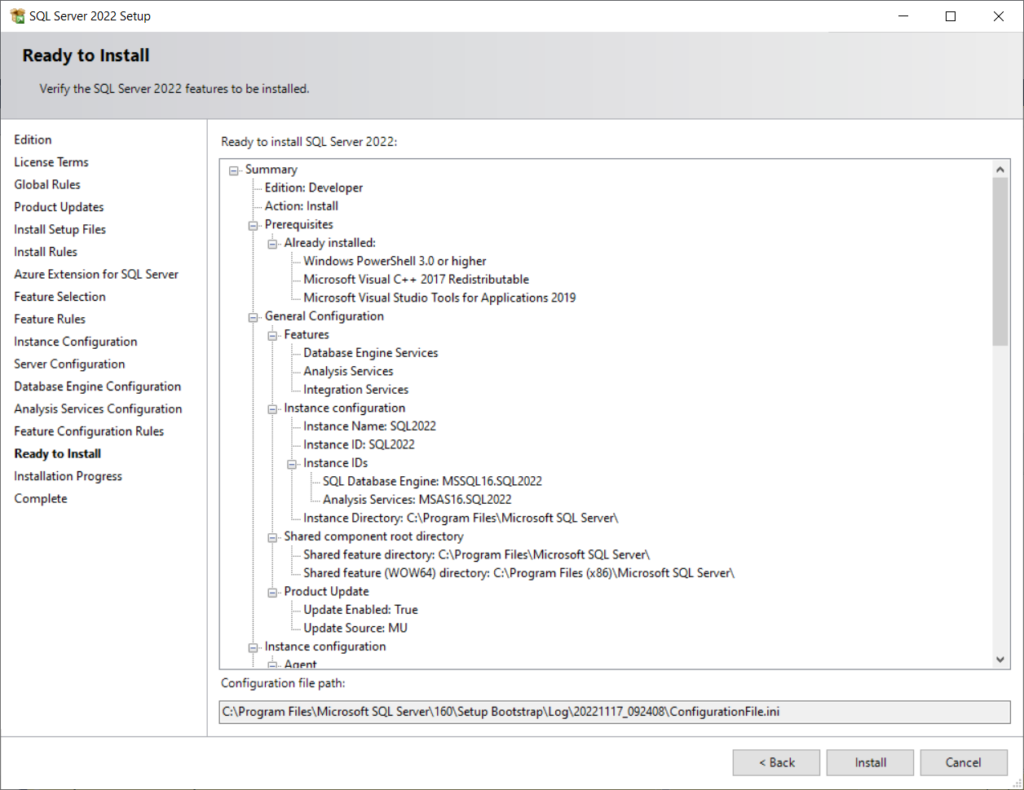
We’re almost done. We get a final overview and then we can click on the Install button.
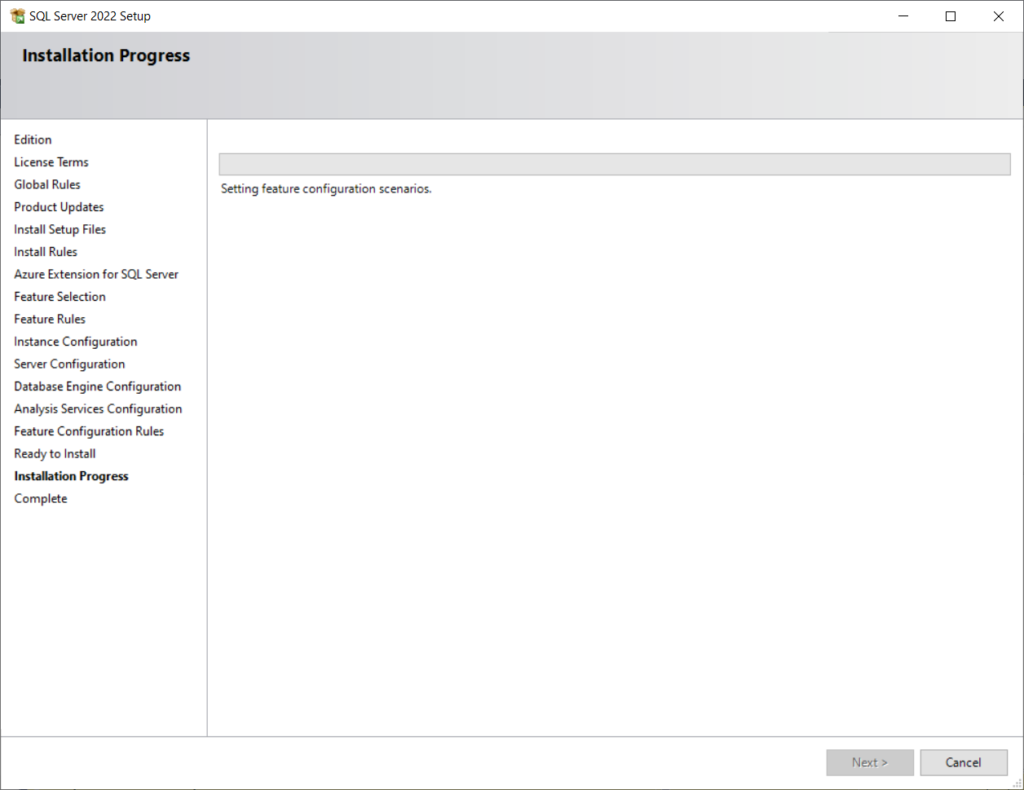
Grab a coffee or other beverage of your choice and wait till the installation finishes.
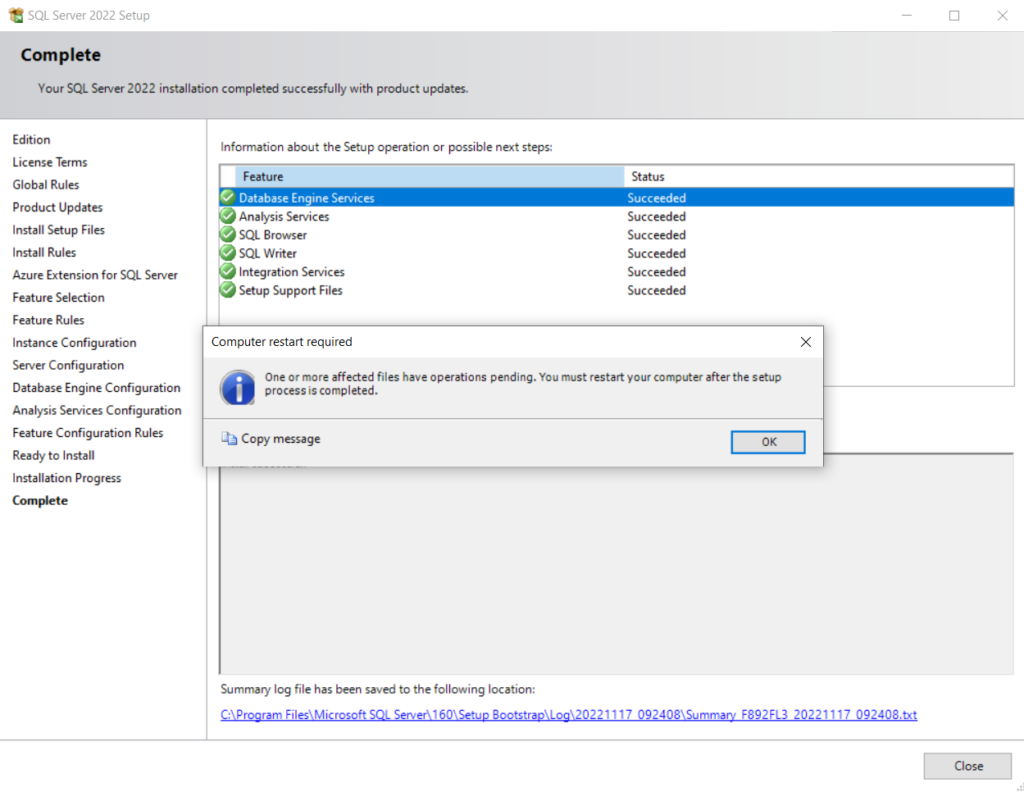
After some time, the setup (hopefully) finishes successfully. In my case, I got a pop-up instructing me to restart the computer.
And that’s it. Now we can use SSMS or any other client tool to connect to our brand new server:

